Connect Tablet to Wi-Fi
Connect the Tablet to Wi-Fi
- From the home screen, click on the Wi-Fi Shortcut. Note: if the badge app is open upon turning the tablet on - swipe up from the bottom to access the Wi-Fi shortcut.
- Turn Wi-Fi on & select your wi-fi. In the example below, R@HUnity is the selected wi-fi. Depending on the wi-fi connection a password may be required. Follow screen steps for connection.

Once connected to the internet, if you still see the "network connection is not available." red bar in the Badges app (image 1), tap the refresh button at the bottom of the screen to reconnect to Wi-Fi (image 2). If this doesn't work, return to the wi-fi setting and reconnect. See above instructions.
Image 1
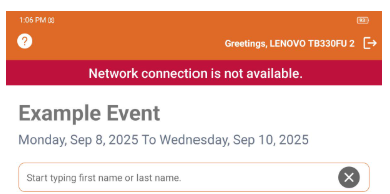
Image 2
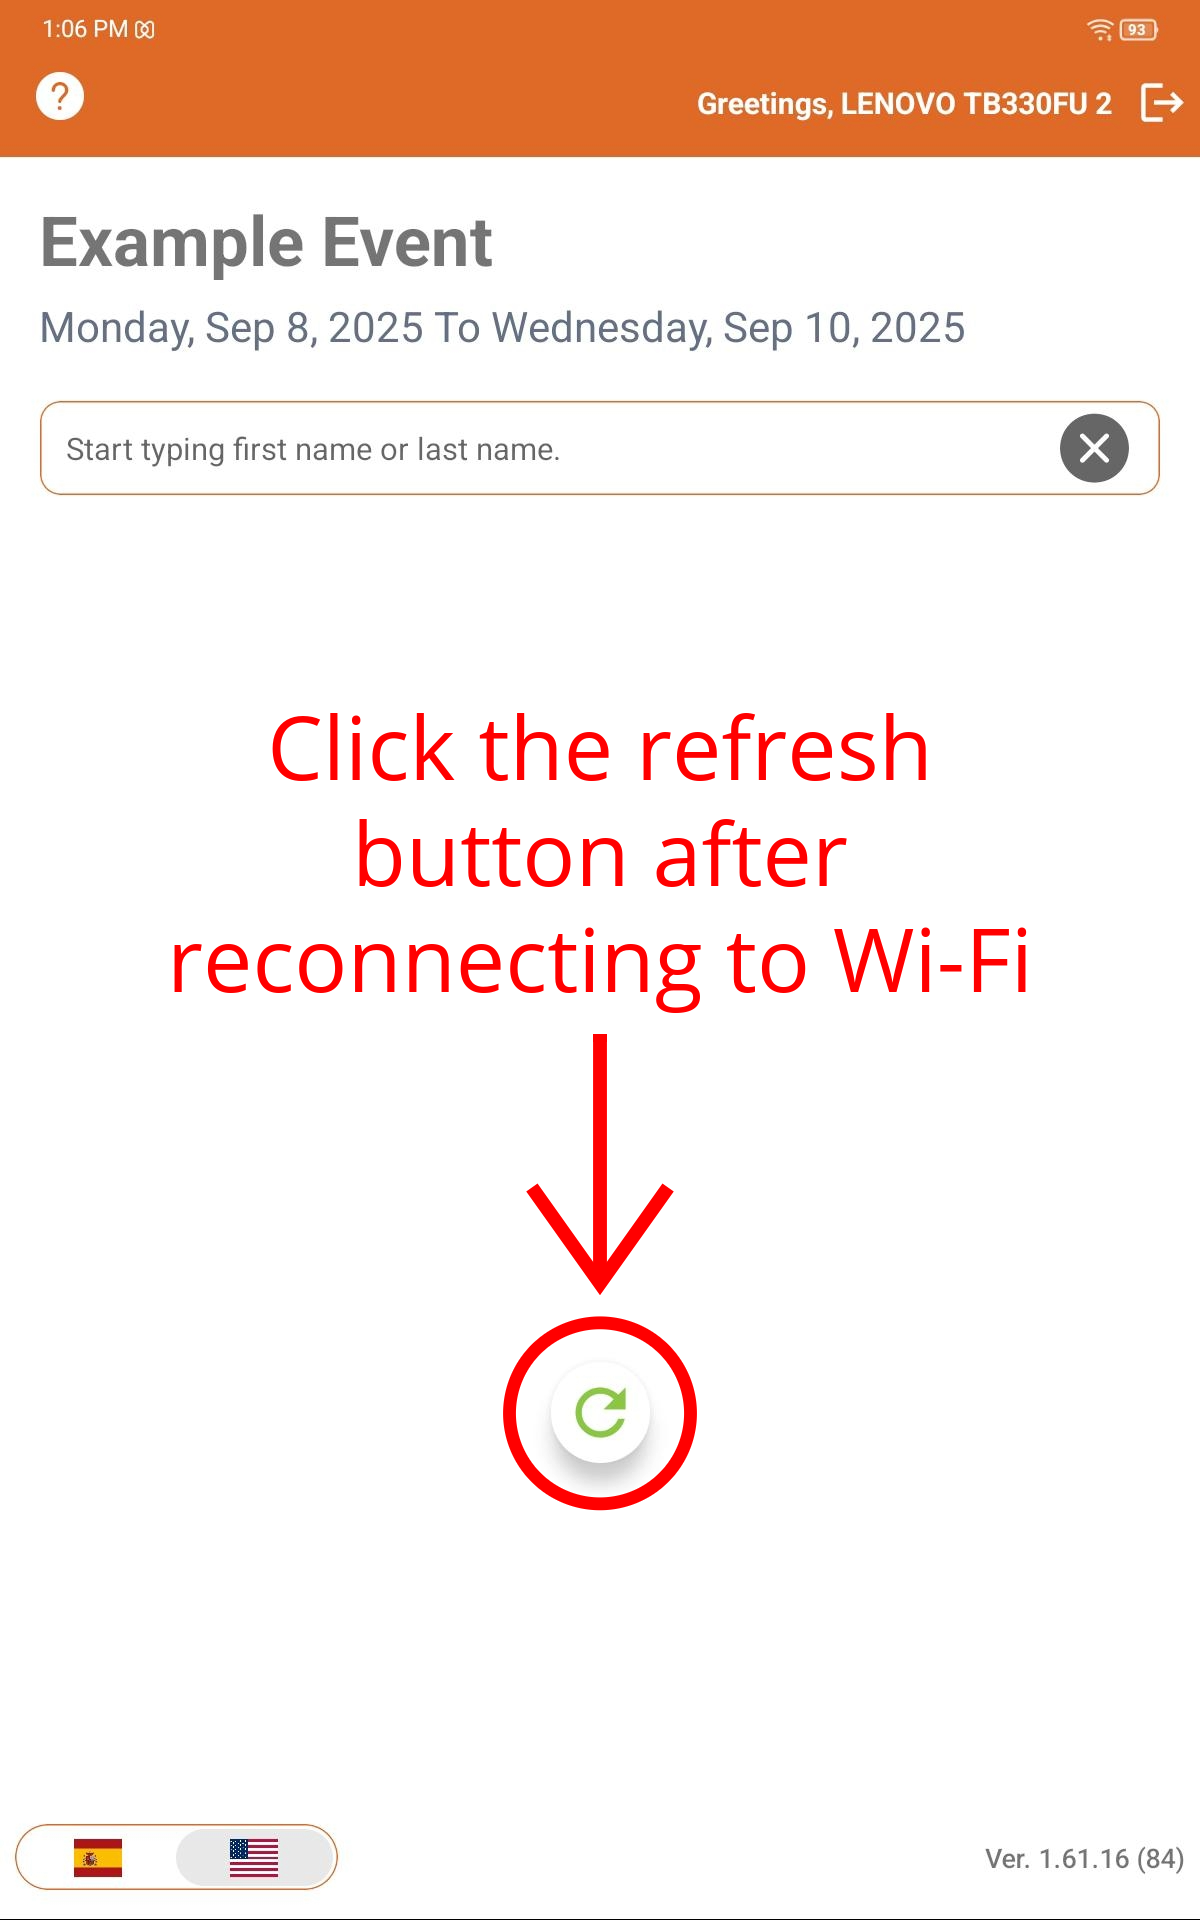
Image 2
 Kiosks can still print offline, but the portal will not show check-ins/push updated data until the kiosks are connected back on Wi-Fi which is why you should ALWAYS stay connected to the internet.
Related Articles
Onsite Badge Printing Tips for success
Tips To ensure your next event's registration and check-in process runs smoothly and your participants have a great experience, follow the below tips for printing badges onsite. 1) Early Kiosk Setup Setup and Test all of your printer kiosks at least ...Onsite Badge Printing User Manual
This article includes a pdf user manual for on-site printers and tablet kiosks. Includes diagrams of the brother printer and 2 types of tablets Includes diagrams for device connections Includes troubleshooting of printer and tablets For configuration ...The Travel Router
This document (see Attachments section below) provides step-by-step instructions for configuring a travel router to broadcast a localized Wi-Fi network from a hardwired, venue-provided Ethernet connection. It is designed to ensure event staff have a ...Lansing Center: How to Connect to Wi-Fi
This guide outlines the steps required to connect the Results At Hand tablets to the Lansing Center's Wi-Fi network. Because these devices operate in a lockdown environment, standard network connection prompts may not automatically appear. The ...R@H Onsite Badge Printer App Configuration Video Tutorial
This is a video demonstration of configuring Brother printers and tablets for onsite badge printing