Team Settings
This article explains the settings available when adding and managing teams.
Add Team
Click on "add team" to create a new team
1. Give the team a unique name
2. Select an image file if you would like to identify the team with a logo image.
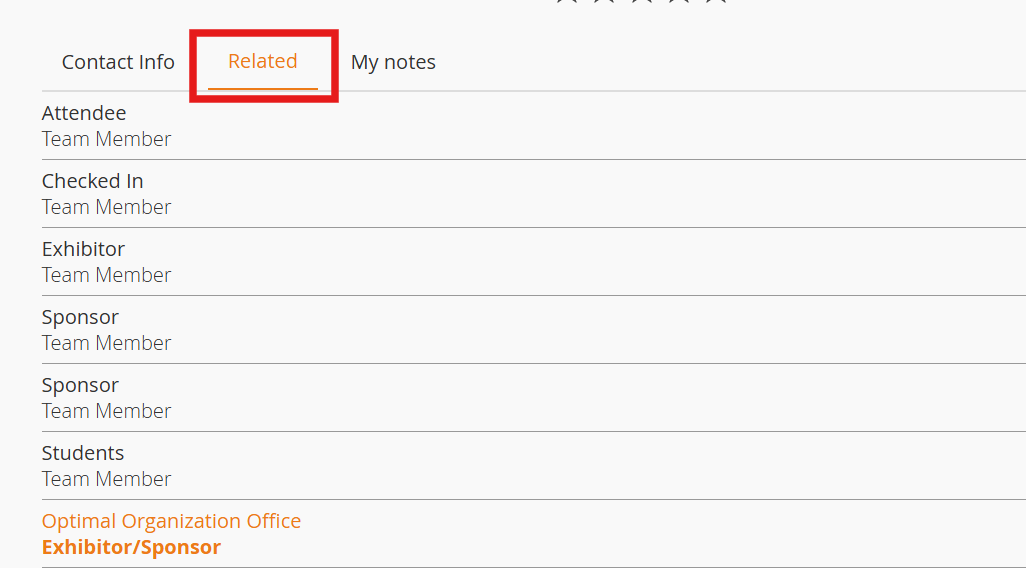
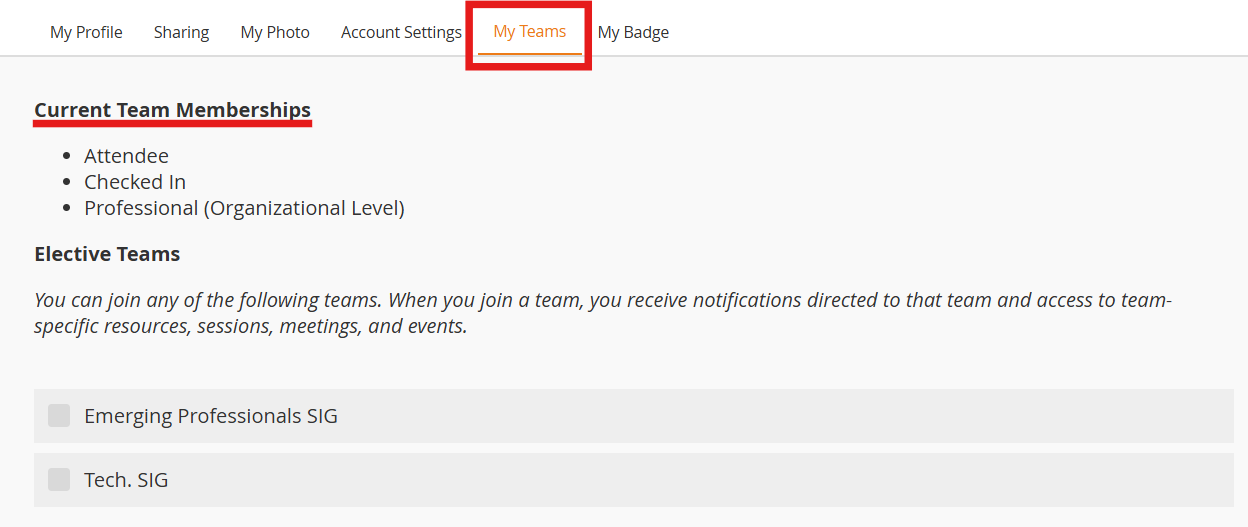
3. Select "Yes" if you want this team to show on the user profile under the "related tab" of the user's profile (image 1) and on the "my teams" tab of the "my profile" section in the app (image 2).
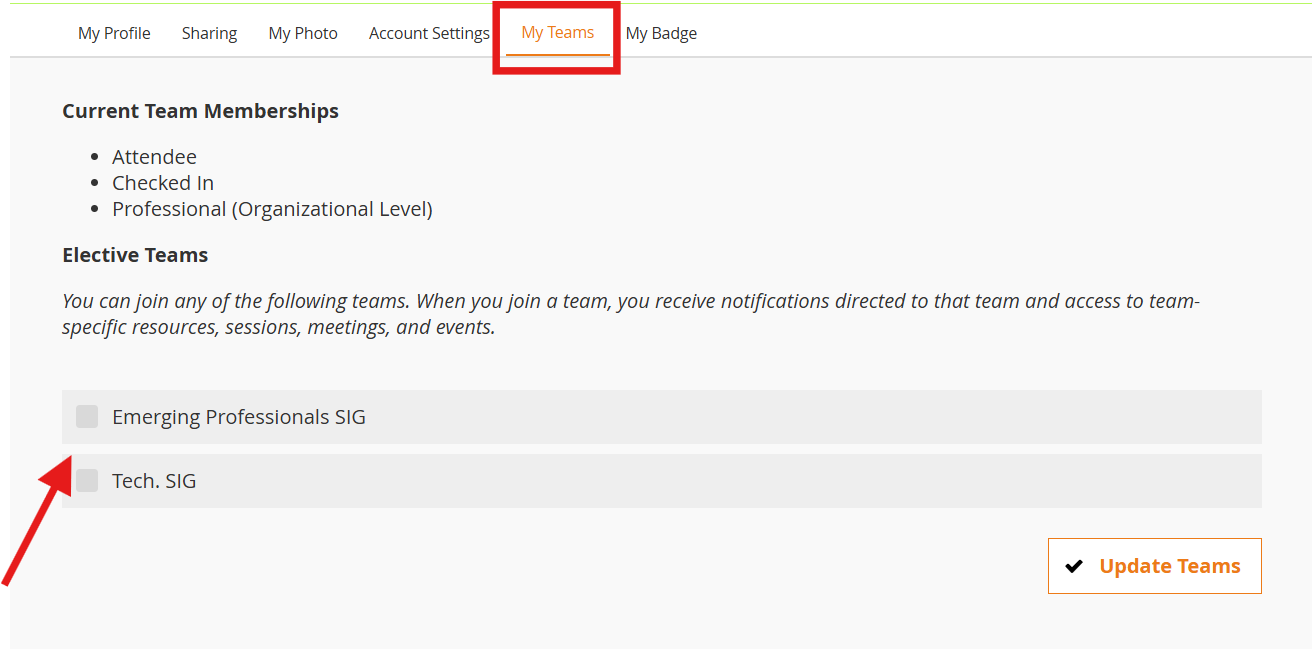
4. Opt-in team allows the attendee to select this team in the app by going to My profile > Teams
5. Export team to badges - this can be selected if the team label is set to display on a badge or if this team has a "team specific" (unique) badge. Contact support@resultsathand.com for questions regarding badge teams.
6. Click "Add Team" to save your changes.
Manage Teams
From the Manage Teams tab, you can view, edit, automatically assign and remove.
View/Go to
Click on the magnifying glass to view a list of team members.
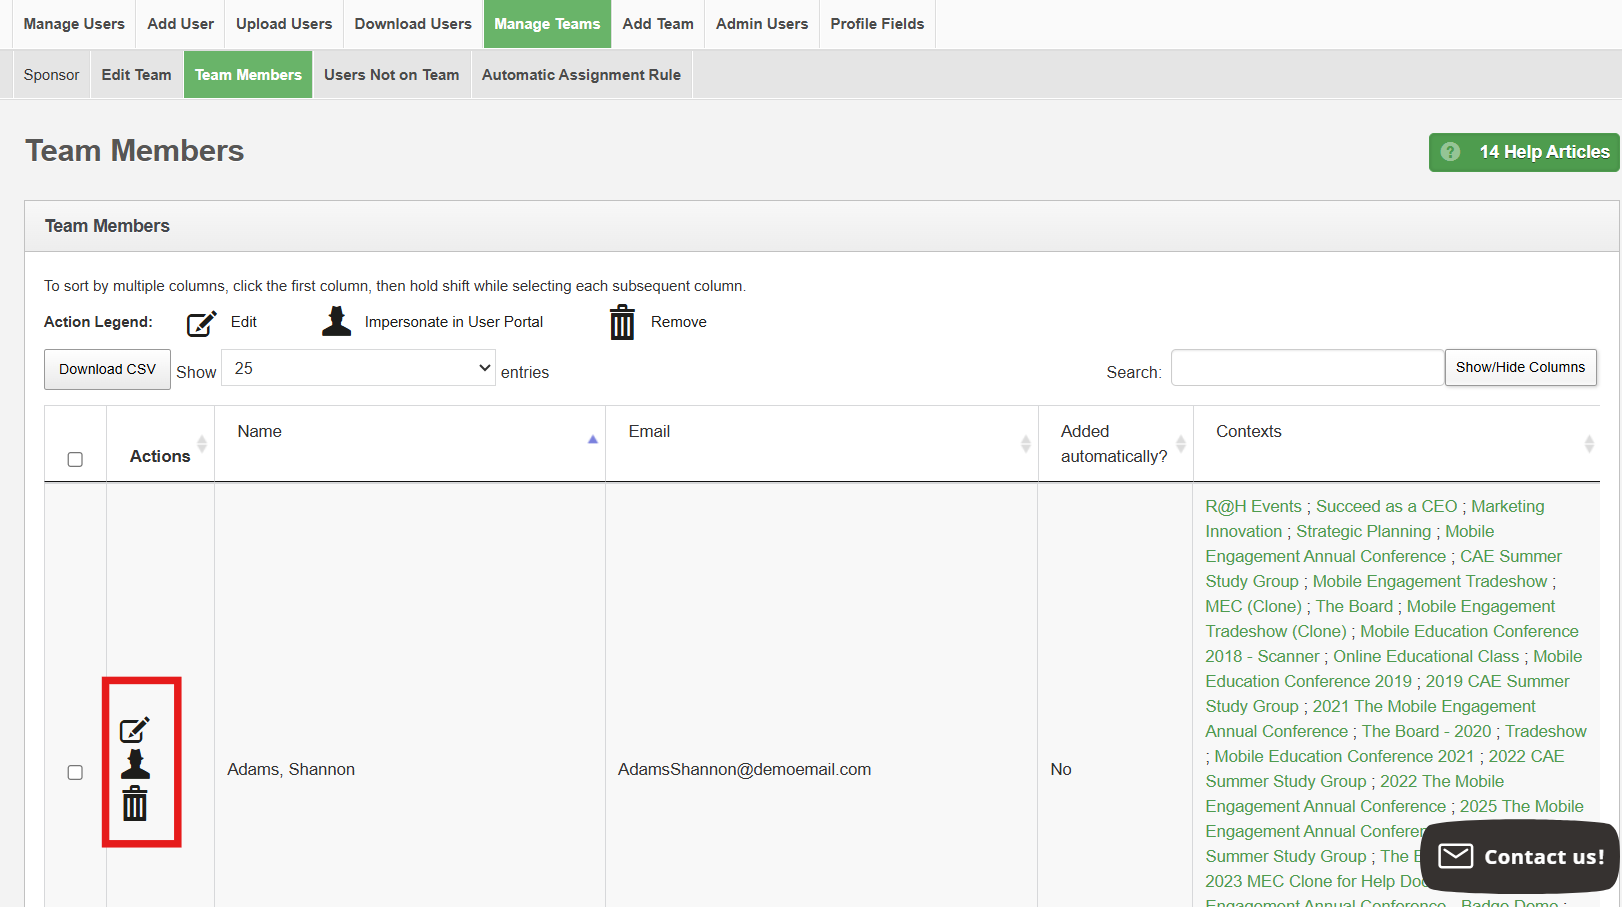
You can see other contexts (events) the users is associated with and use the action icons to:
- Edit - teams the user is associated with
- User - impersonate user in portal.
- Delete - this removes the users from the TEAM only. It does not delete them as a user. To remove them as a user, go to users and teams > manage users.
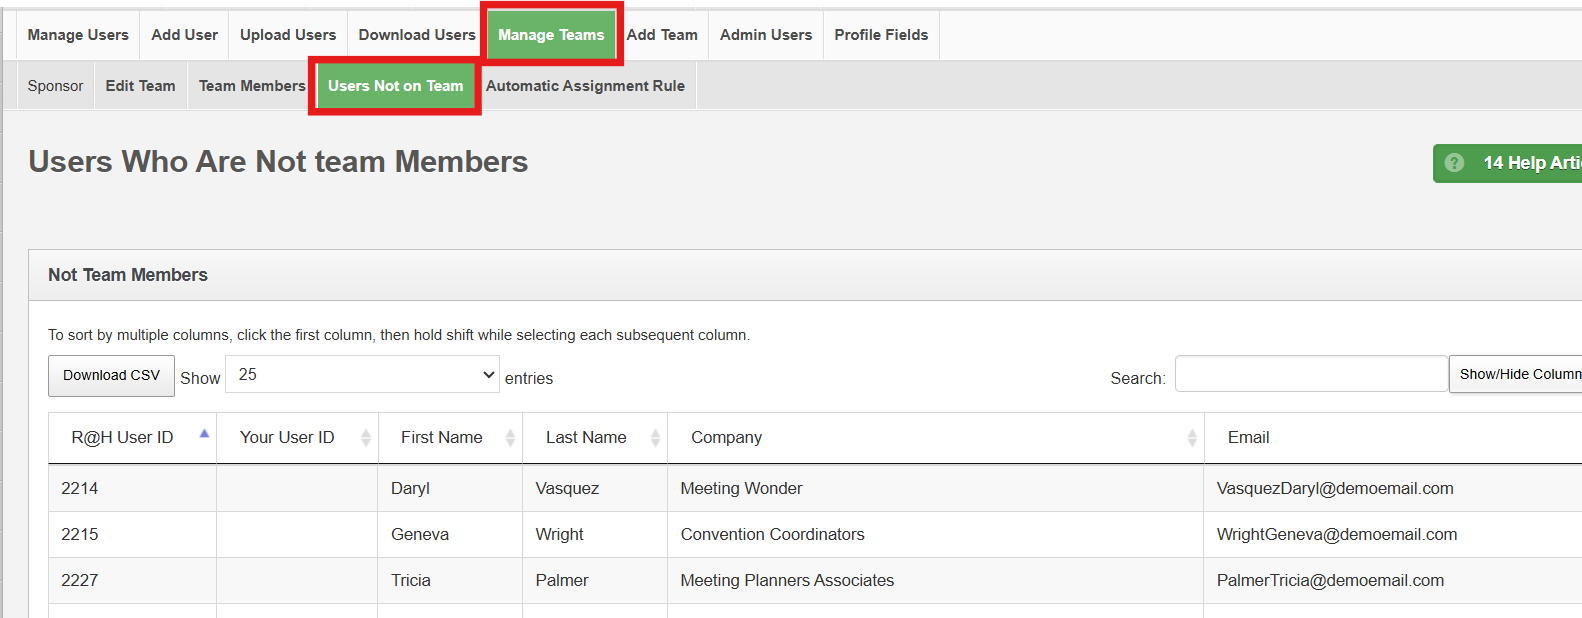
Click on the "Users Not on Team" tab to see a list of users who are NOT a member of this team
Edit
This allows you to update the settings for each team:
- If the team is a default team (admin, attendee, exhibitor, or sponsor, or checked-in), it will display the name in the "team type column", you will have limited edit options.
- If the team has been created, it will say "default" in the "team type" column and you can choose to "opt-in" via the app as well as the other default settings.
- See the "add team" section above for an explanation of each setting in the edit screen
Automatic Team Assignment
This feature allows team assignments to be based on completing a profile field in the app.
From the "manage team" screen, click on the "automatic assignment" icon.
- Select the profile field from the drop-down and set the value as needed.
- Click on "set automatic assignment rule" to save your changes.
Attendees can then log into the app and update their profile. If the automatic rule is followed, they will be added to that team and be allowed the permissions included for that team.

Note: admin, speakers, exhibitors and sponsors should be added in those sections, not by using automatic assignment.
Related Articles
Users and Teams
Users and Teams Under the Users and Teams section within the admin portal, you can control all of your app users and assign them to in-app teams. Having teams in place makes sharing targeted app information easy. For example, teams may be assigned ...Opt-In Teams (Users may join a team)
In the Users & Teams section, you can add an opt-in team and/or convert a team to opt-in. Definition of an Opt-in Team: A team that any user may join from the Profile section of the app. By default an admin must assign a user to a team (with the ...Downgrade Admin Users
You may have an admin from a previous event who is now a regular attendee. Follow these instructions to change their status which will also allow you to see and edit their password. 1. Go to Users and Teams > Manage Users 2. Search for the user. 3. ...Admin Users
Admin Users Under the Manage Admins tab, you will see a table of your existing administrators. Below is an example screenshot of the Admin Users screen with further details. Use the action icons to edit, remove or add as an app user. Edit: click on ...Upload Example: Event Users File
You can add multiple event users to your event by uploading a CSV file. Linked is an example of fields and file format for the Event Users Upload file. Be sure to save it as .csv prior to uploading.